
Intended audience:
All users
Steps:
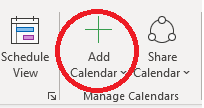
1.
Click on “Add Calendar”.
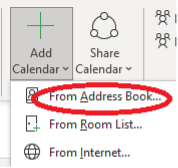
2.
Click “From Address Book”.
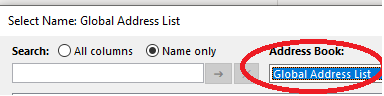
3.
Click on the drop down box and change to “Global Address List”.
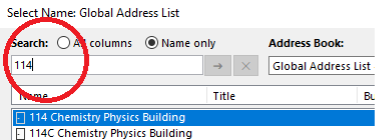
4.
Type the name of the room you’d like to view/add and then double click the highlighted room.
5.
After double clicking, the room will be displayed on the bottom bar. Click “OK”.

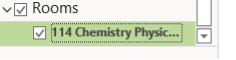
6.
The added calendar will be displayed on the left-hand side. You may rename “Rooms” by right clicking and then selecting “Rename”
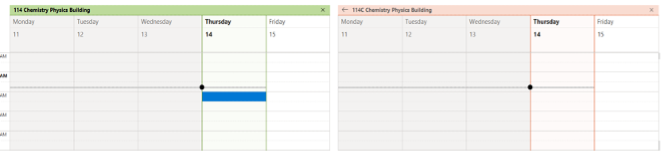
7.
Finally the calendars that have been added will be displayed like any other calendar.
Tutorial Tags:
Category: