
Intended audience:
Content moderators
This tutorial will guide you through creating a photo gallery for your department.
Steps:
1.
Log in to your department website.
2.
Click "Add content" on the grey bar at the top of the page.
3.
Choose the "Gallery" option.
4.
Give your gallery a title and optional description.
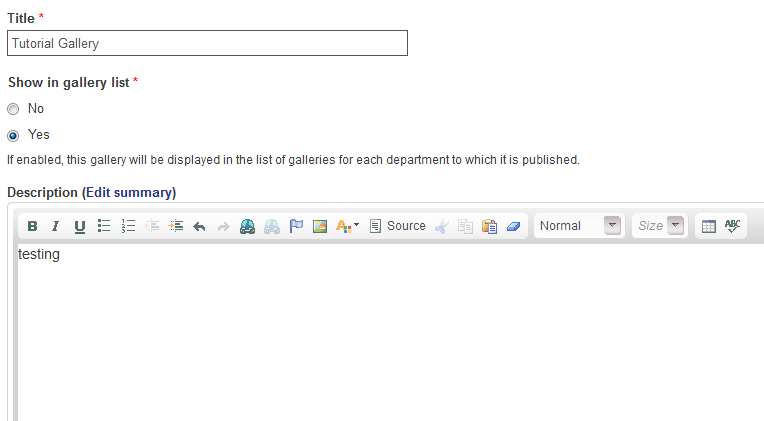
5.
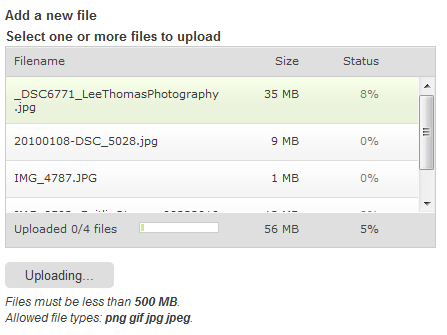
Choose the photos you'd like to upload.
Please note that once you click "Start upload" you must wait for all photos to finish uploading before you continue.
6.
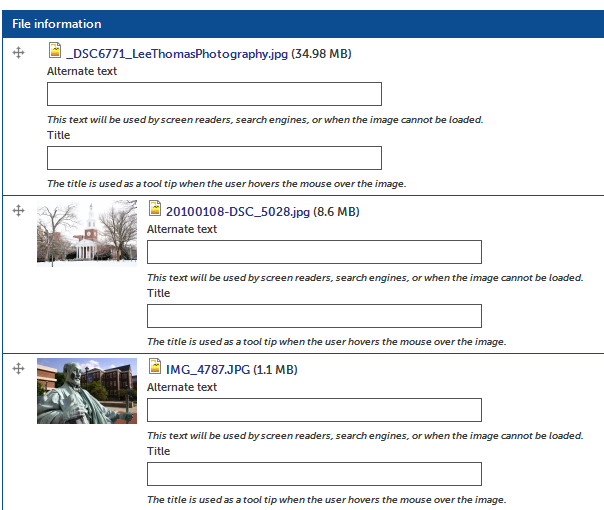
After photos have finished uploading, give them a title and alternate description.
It is considered good practice to to add Alt text to images for accessibility compliance - please add a description.
7.
Click "Save" at the bottom of the page, and you're done!
Tutorial Tags:
Category: