Setting up breakout rooms in Zoom allows you to split meeting participants into separate, smaller rooms.
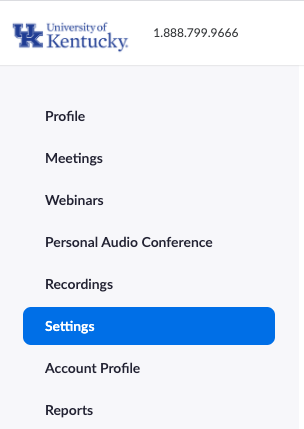
Click on the 'Settings' tab
Click on 'In Meeting (Advanced)'

Enable breakout rooms
Make sure the button/switch is blue and check the 'Allow host to assign participants to breakout rooms when scheduling' option. Finally, click on 'Save'.

Schedule a new meeting
Scroll back up and click on 'Meetings' and then on 'Schedule a New Meeting'.

Pre-assign breakout rooms
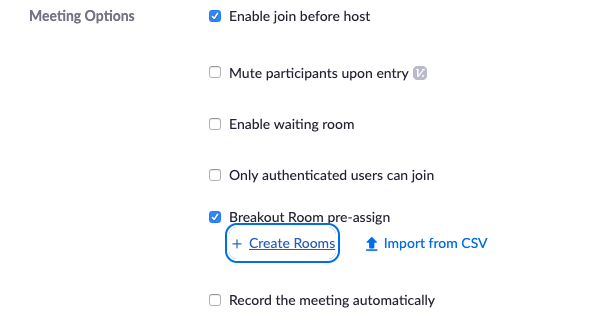
Optionally, you can select 'Breakout Room pre-assign' and click on the '+ Create Rooms' link to set up rooms for this meeting.
Pre-assign breakout rooms (continued)
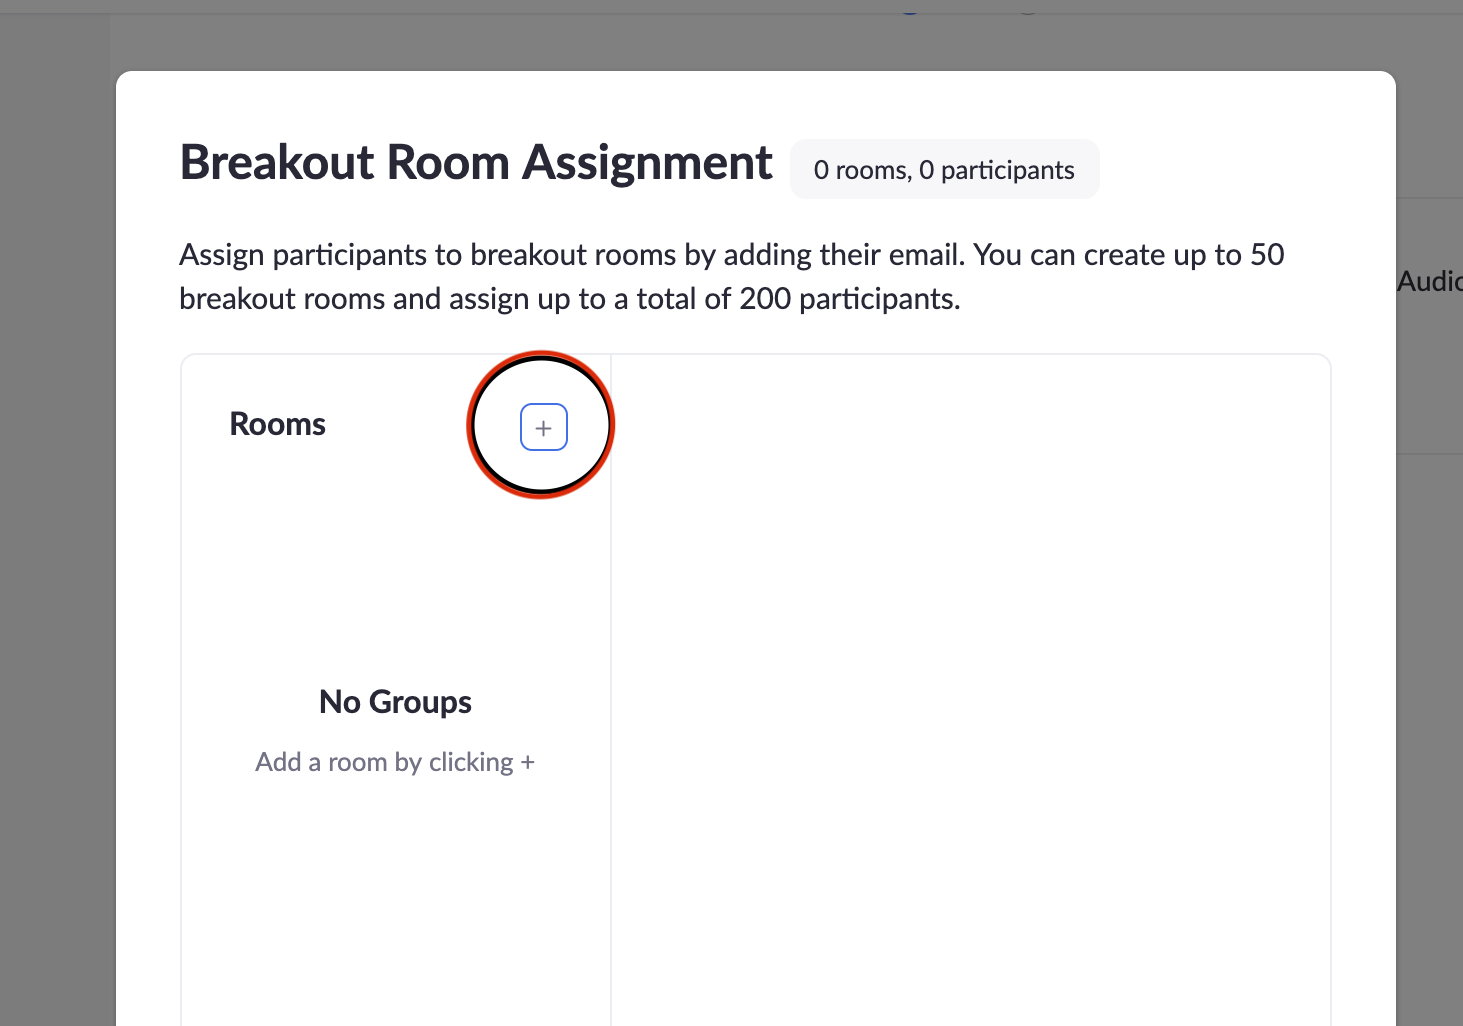
Click on the '+' next to 'Rooms'.
Pre-assign breakout rooms (continued)
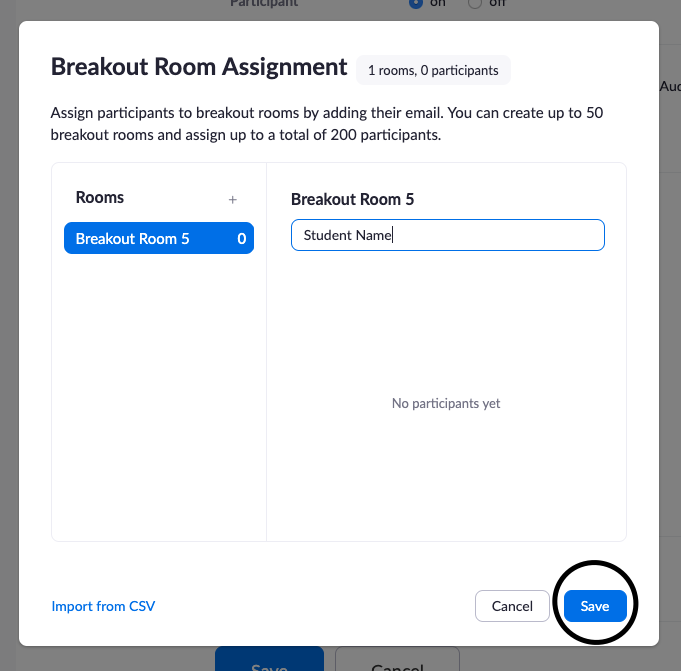
Add participants by typing your student(s) names to their assigned Breakout Room then click on 'Save'
Save your scheduled meeting
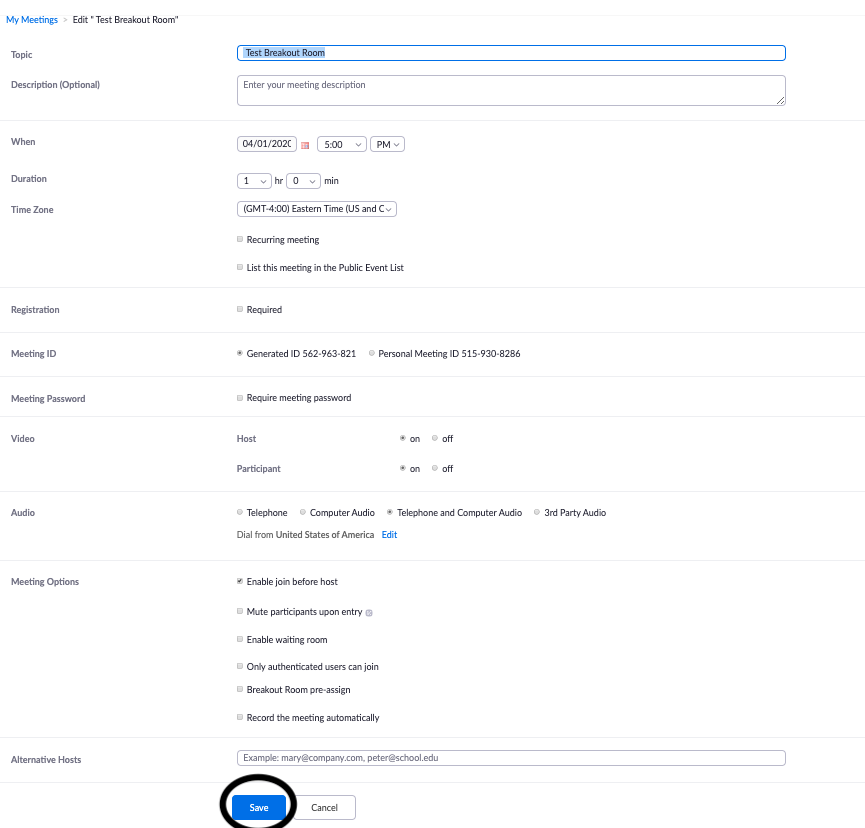
Click on 'Save'
Go to Canvas and 'Sign In'

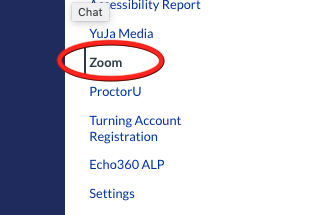
Scroll down on your left tab and click on 'Zoom'
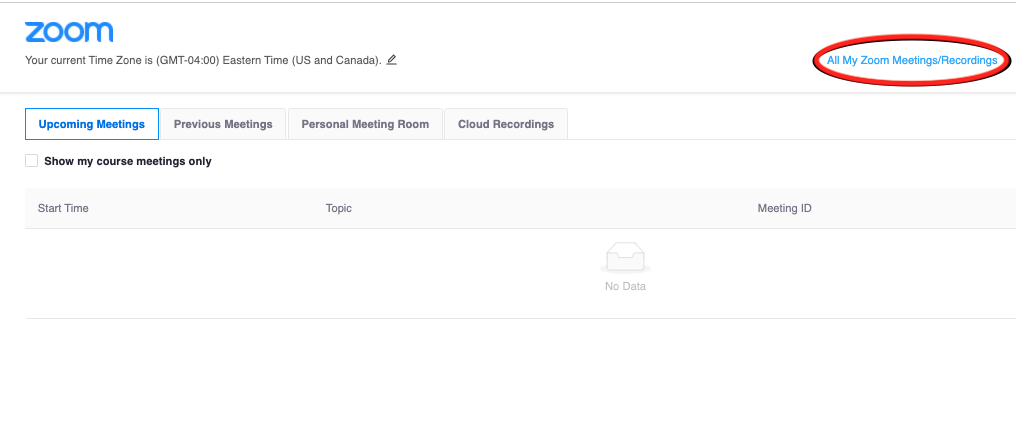
Click on 'All My Zoom Meetings/Recordings'
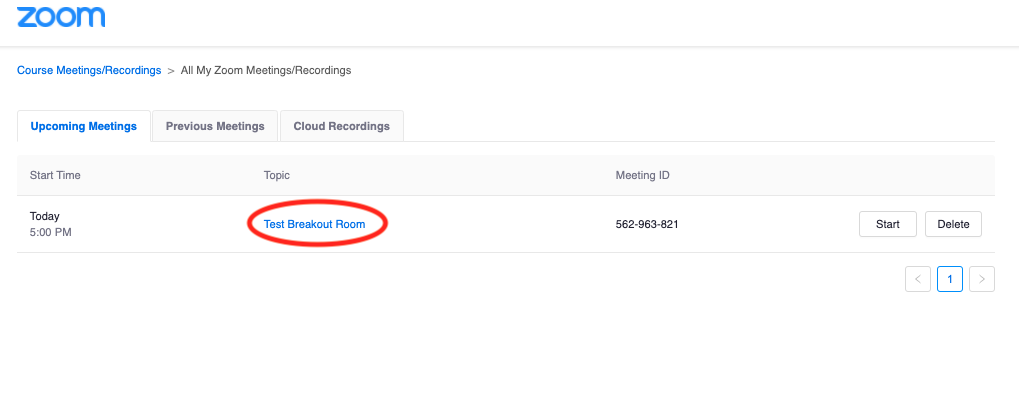
Make sure you are in the 'Upcoming Meetings' tab.
Start your meeting with the enabled breakout rooms
Click on your meeting title where the Breakout Room will take place. In this example, it is 'Test Breakout Room'.
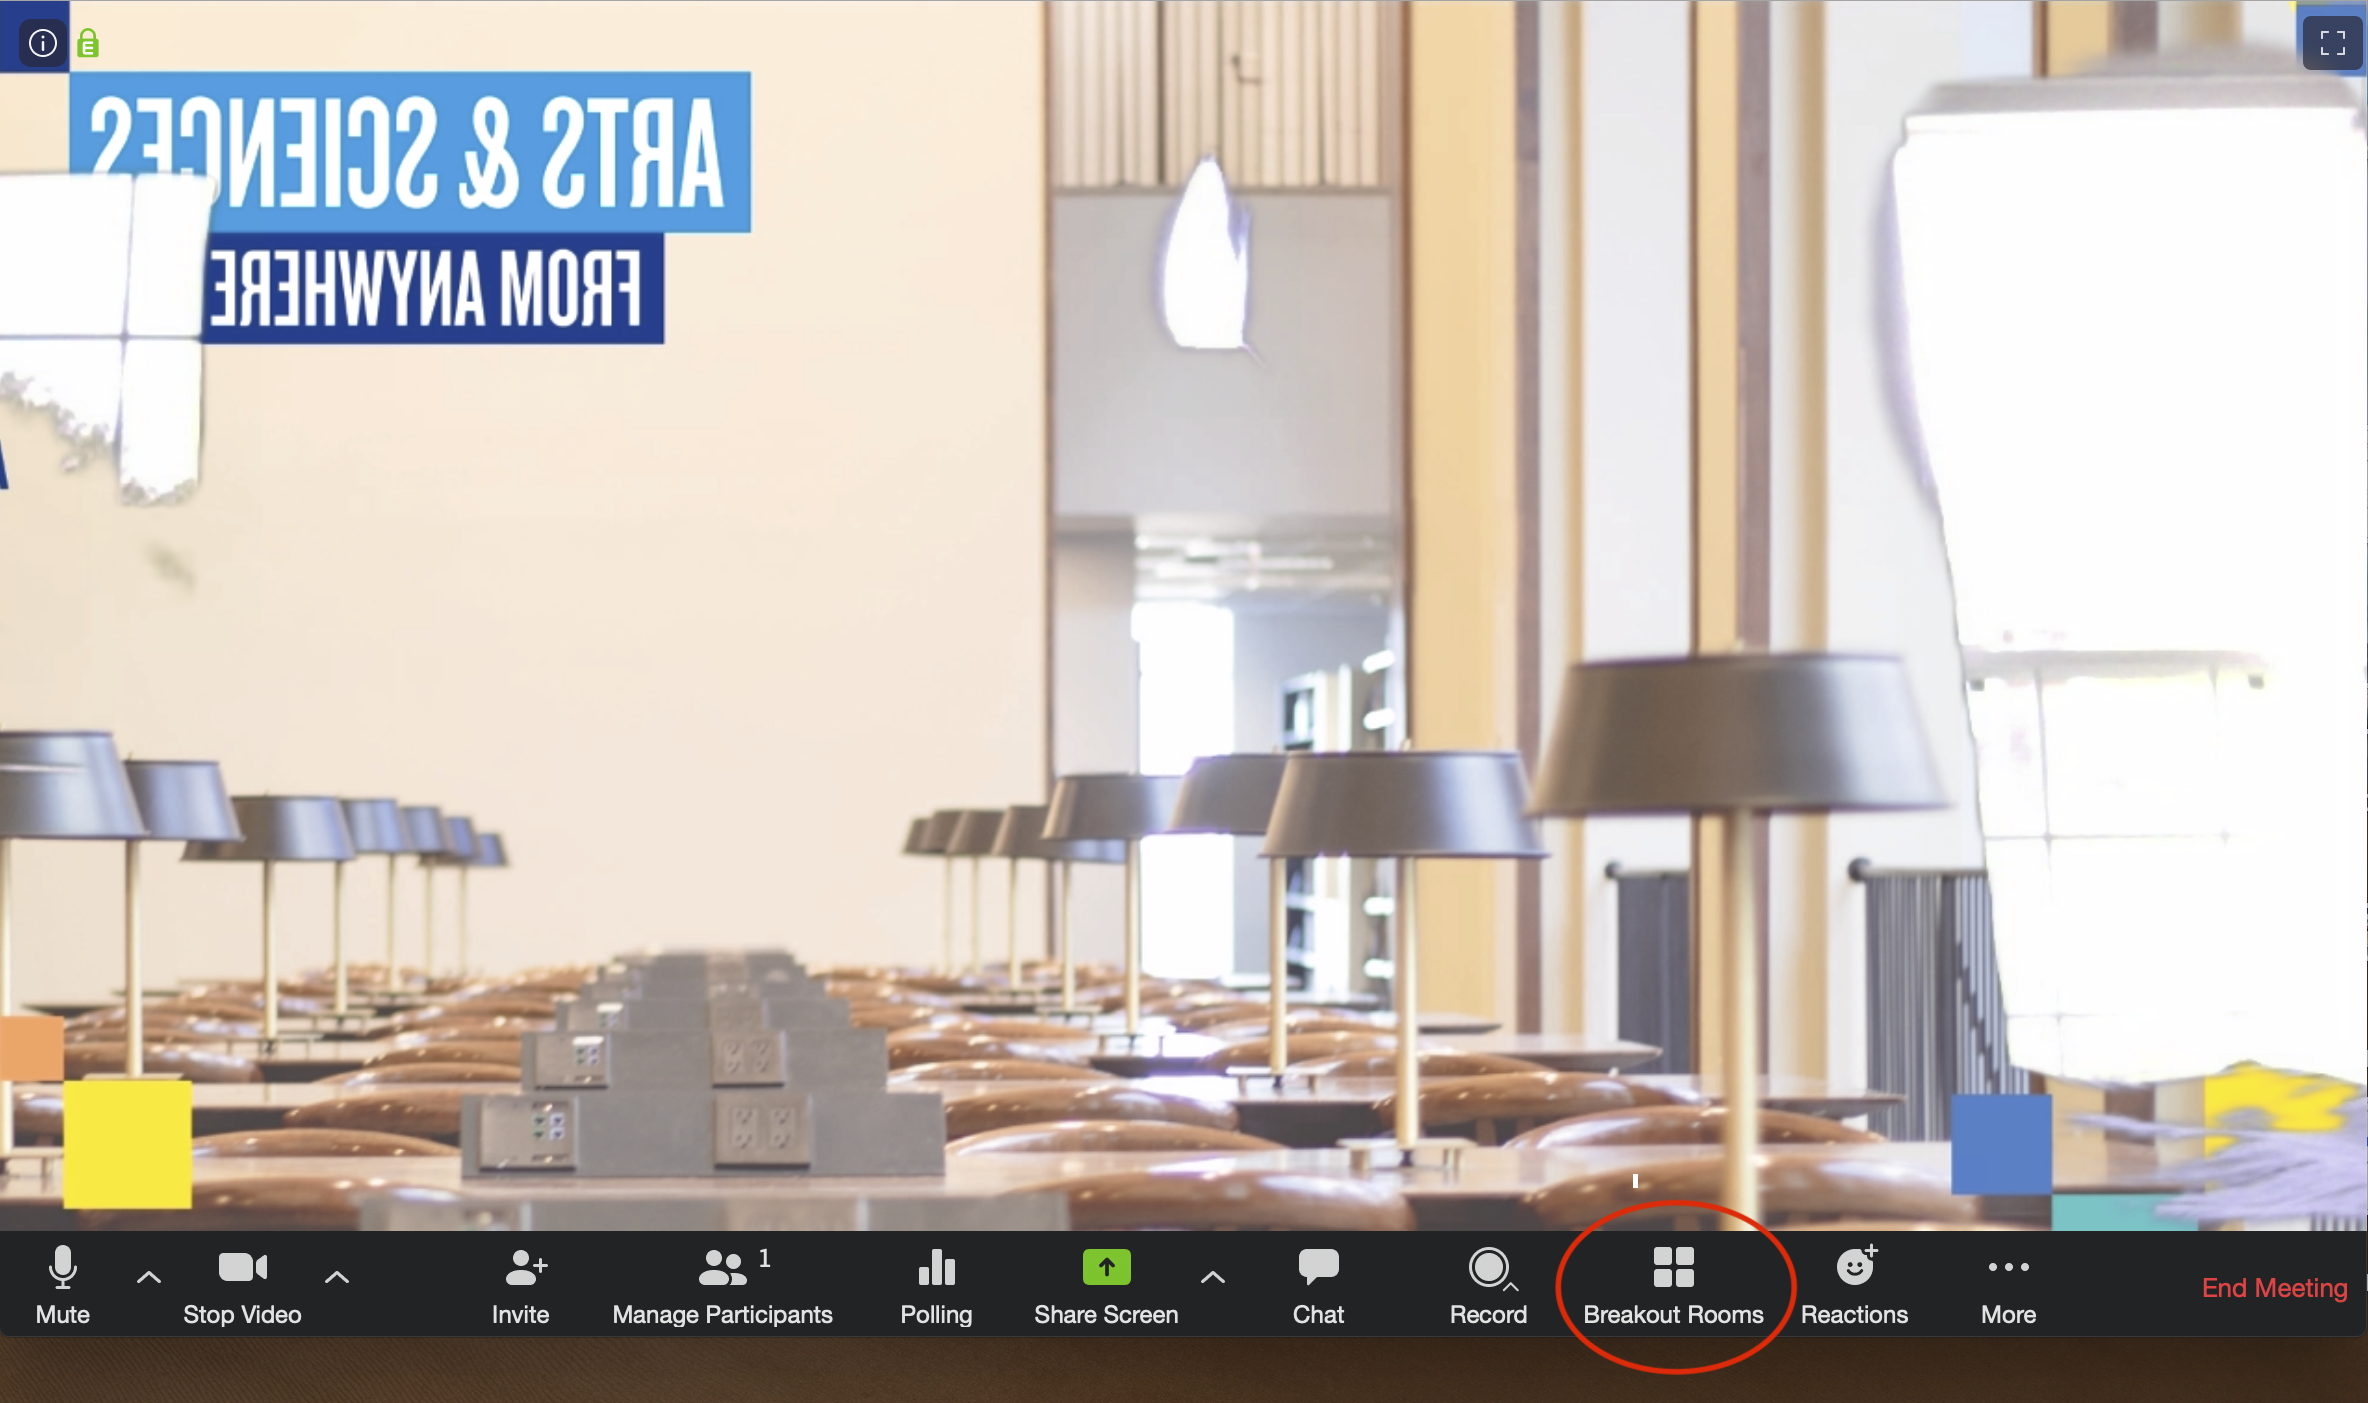
In Zoom, click on 'Breakout Rooms'
