
This tutorial walks you through resizing an image In Photoshop for Feature Banner/Landscape Picture in E-Newsletters (Campaign Monitor).
Open your image in Photoshop.
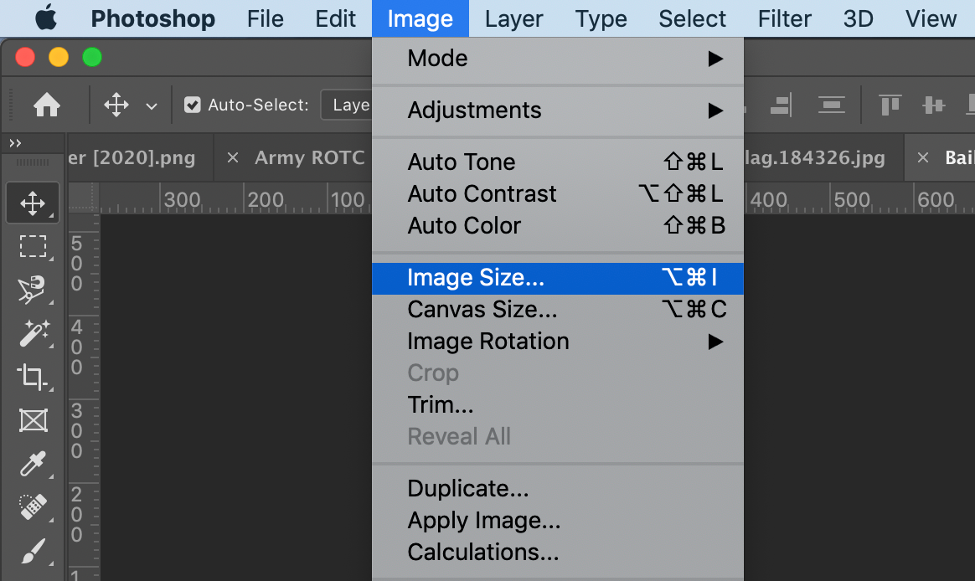
Go to “Image”, located at the top left of the window bar.
Select “Image Size”.
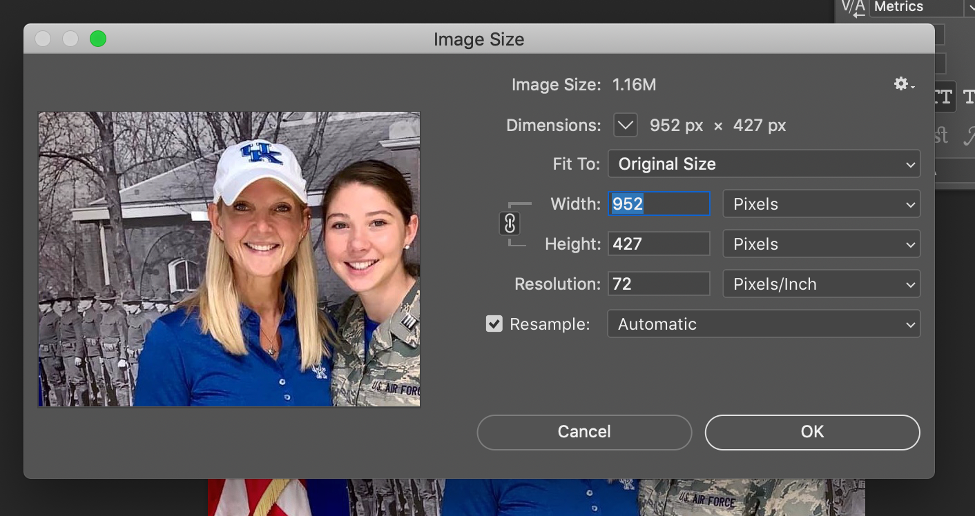
A new window will open.
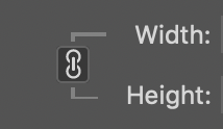
To maintain the proportions of your image, click the icon next to width and height.
The icon should look like the locked chain below:
Under “Dimensions” in the same window, follow the steps below:
1. Select “pixels” for the unit of measurement.
2. Check that the resolution is “72 pixels/inch” for web based images. “300 pixels/inch” is ideal for printing.
3. The horizontal picture must be cropped to 700x350 pixels for the banner/landscape picture.
4. If your original image has different proportions than your desired print size, it will be necessary to crop your image after resizing it.
5. Click “OK”.
Save your file.
Tip! If you want to keep your original file, select “Save As” and name your image something different from the original.